If you plan to travel through Guatemala, climbing the 3,976-meter Acatenango volcano from the cute town Antigua is something you should not miss. From this altitude, you have an amazing view of several volcanoes including the active Fuego volcano that erupts about every 20 minutes. As an adventurous traveler, hiking the iconic Acatenango was a highlight of my trip to Central America. Whether you are an experienced mountaineer or looking for a challenging and unique experience, it will be an adventure to remember. I tell you everything you need to know to plan and execute your own adventure on the Acatenango volcano!
In this post:
Acatenango volcano hike
Day 1: 6 hours of hiking to base camp
Early in the morning a van will pick you up at the hostel and take you to the starting point of the hike in about an hour. There you will get the necessary information and you can rent warm clothing including gloves, hat, scarf and a winter coat. And believe me, you really need those! A walking stick is also nice, especially on the steep parts and eventually to walk back down.
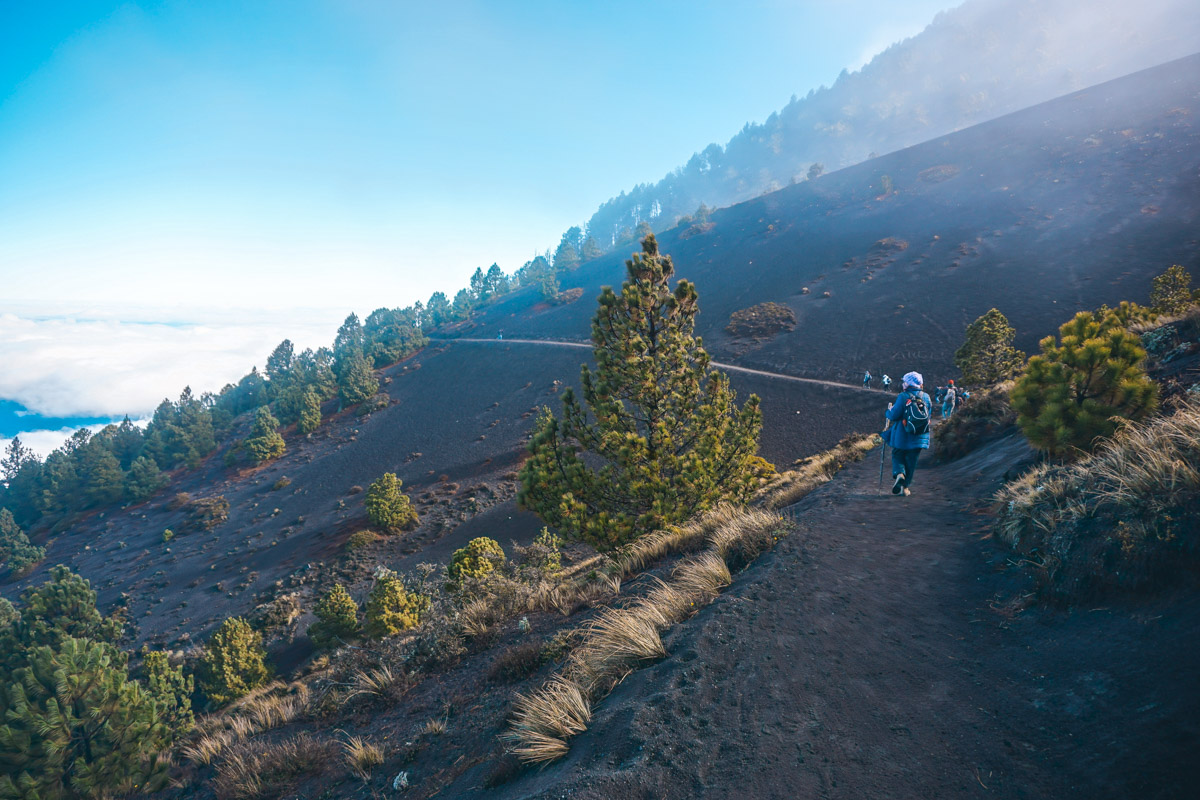
The hike starts pretty steep from the beginning on a dusty path. This section is quite boring, but slowly but surely the views become more and more spectacular. A face mask or a scarf against the dust can be nice!
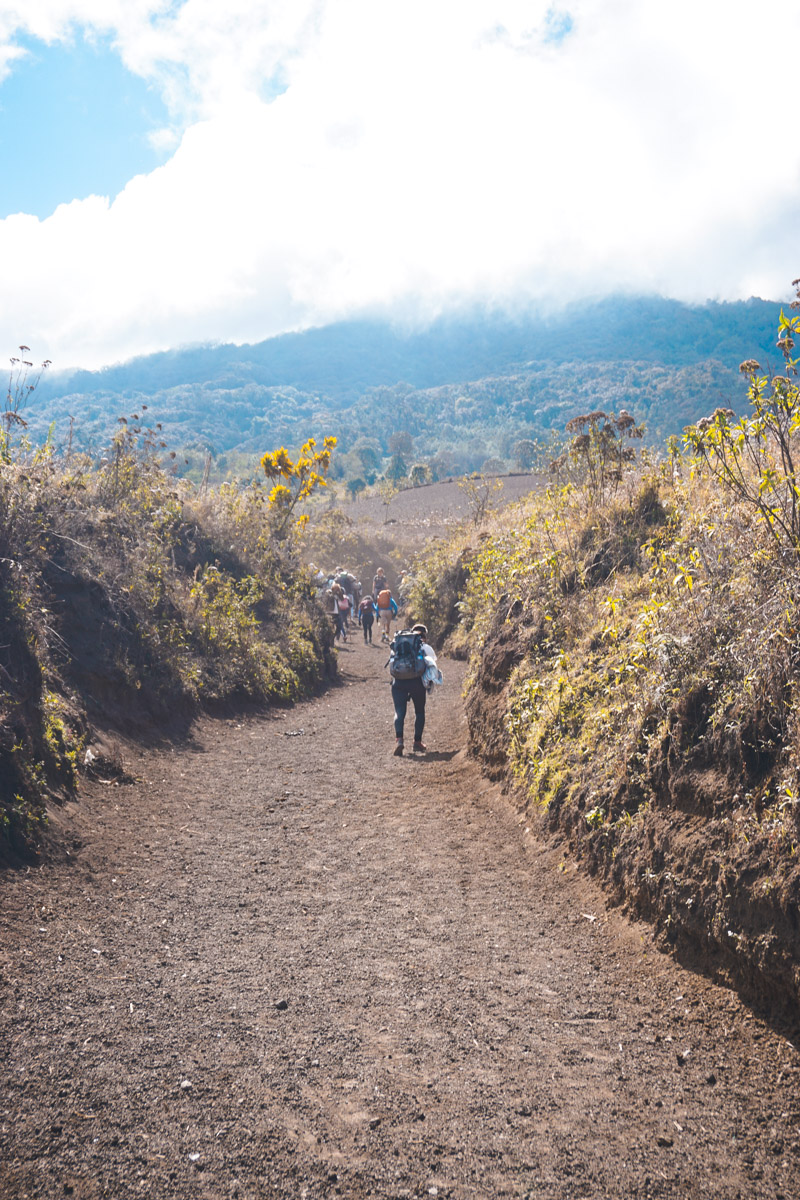
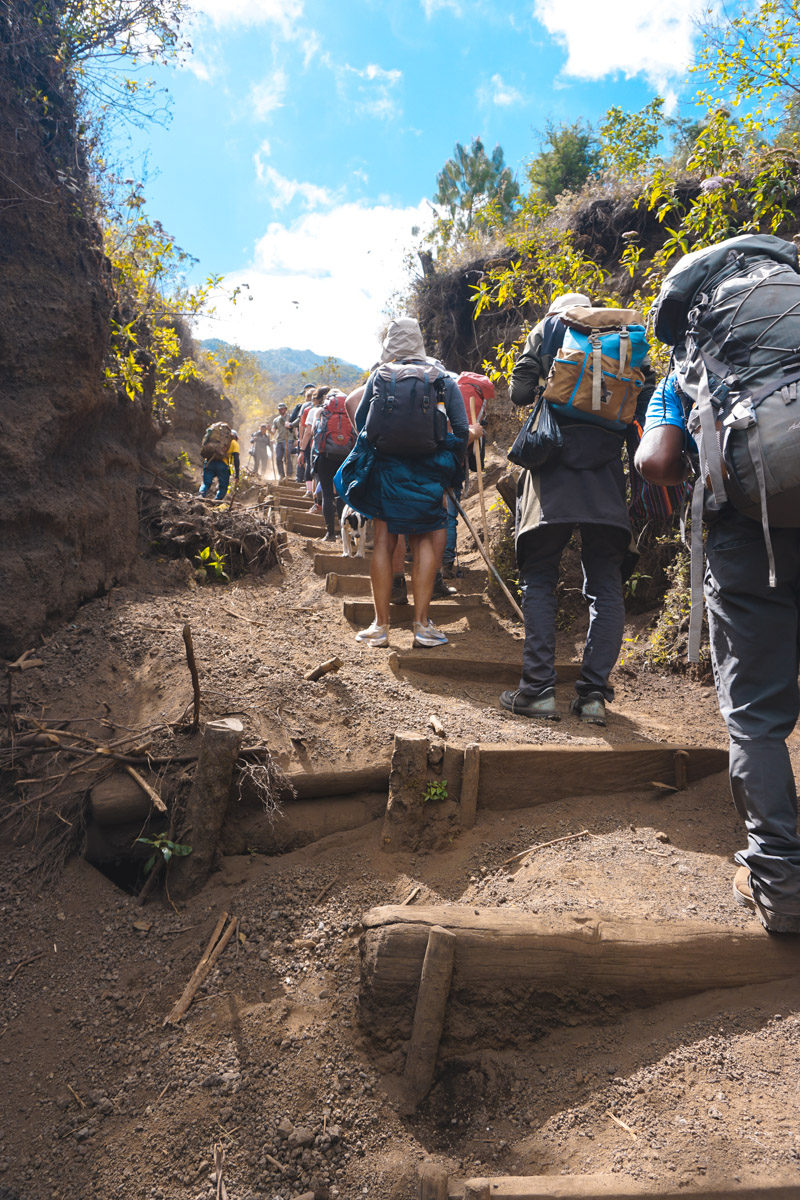
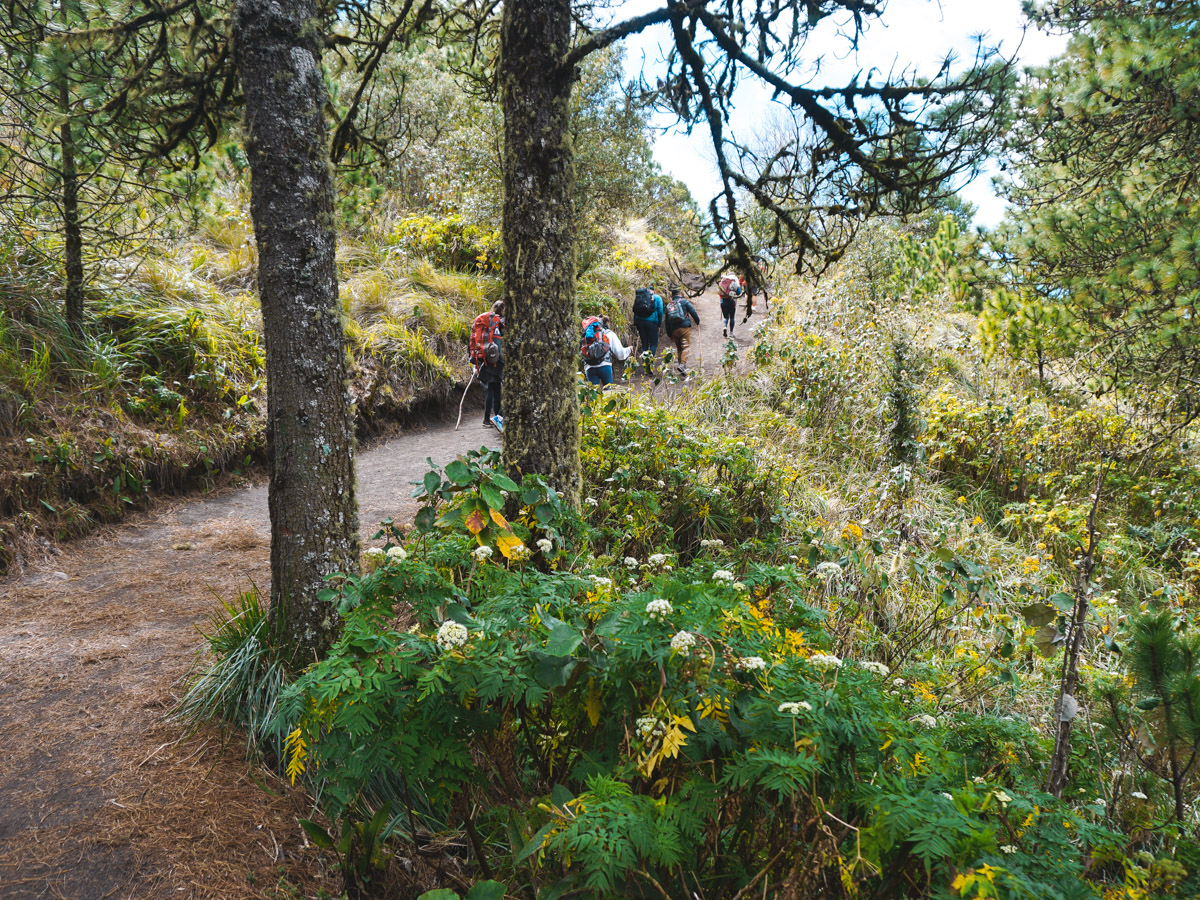
Eventually the route continues through a beautiful forest with the entrance to Acatenango National Park. Here you get a wristband that serves as entrance to the park.
After some more hiking, there will be a lunch break. During the hike there are plenty of breaks so everyone can catch their breath. It’s a good idea to bring some extra snacks and energy drinks yourself because you will really need that extra energy.
Re-energized, you will continue your hike after the lunch break. The last hour of the hike is relatively flatter than the rest of the route and is often considered the most enjoyable part of the trek. Watching the scenery and views change as you get closer to the summit is a great experience.
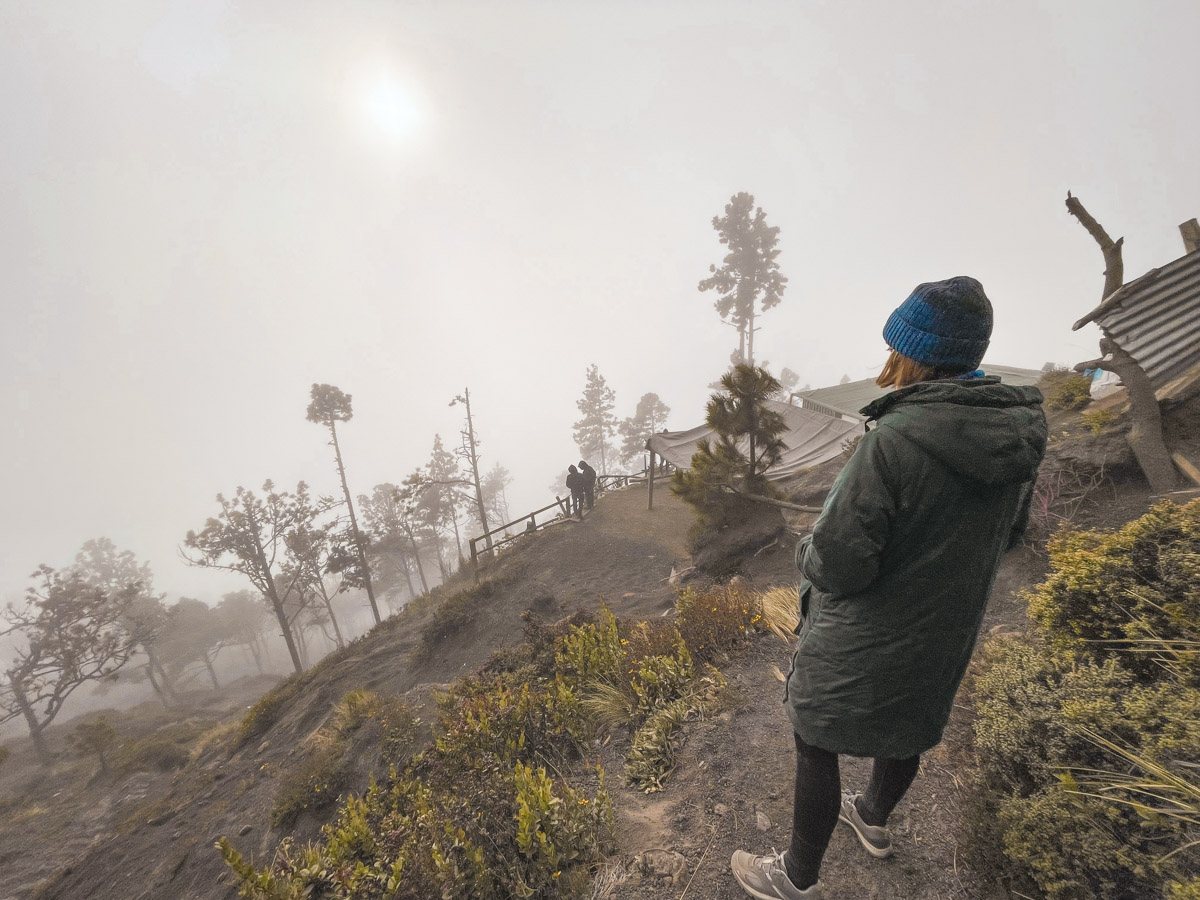
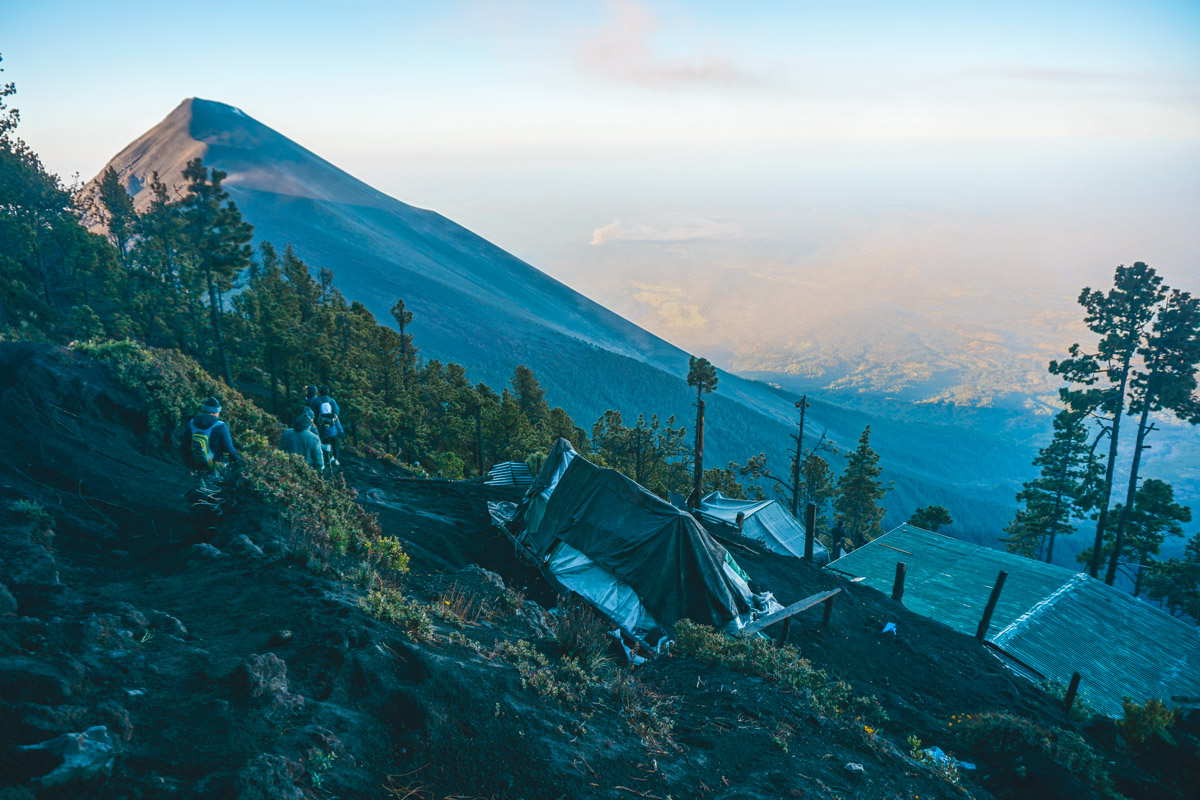
Once you arrive at base camp you will be assigned a tent located in the covered cabin and the campfire will be started outside. From the base camp you have a spectacular view of the smoking Fuego volcano and forget all aches and pains and fatigue for a moment. Unfortunately, we were not so lucky the first day and were shrouded in clouds.
Enthusiasts can venture on the extra hike that takes you close to the crater of the Fuego volcano. And that’s not easy after such a long day. During this route you don’t have to ascend and descend much, but the fact that you walk everything in the dark with tired legs makes it challenging. With clear weather, this is definitely recommended and is truly an experience to remember.
My body was not up for this extra challenge, so I decided to stay behind at base camp with a bunch of others with a cup of delicious hot chocolate and a nice dinner. My decision turned out to be the right one, because when the group arrived huffing and puffing again after 4 hours (!), it turned out that they had not been able to see anything at all due to the clouds and rain.
Day 2: to the summit and back down
On the second day, you will be woken up at as early as 4:00 in the morning to get ready for the hike to the summit. Since it was cloudy and even raining at our place the night before, I feared we might not be able to do this hike. But nothing could be further from the truth. As soon as I stepped out of my tent, I was greeted by an impressive spectacle of spewing lava and smoke with enthusiastic cheers from my groupmates in the background. What an incredibly spectacular sight!
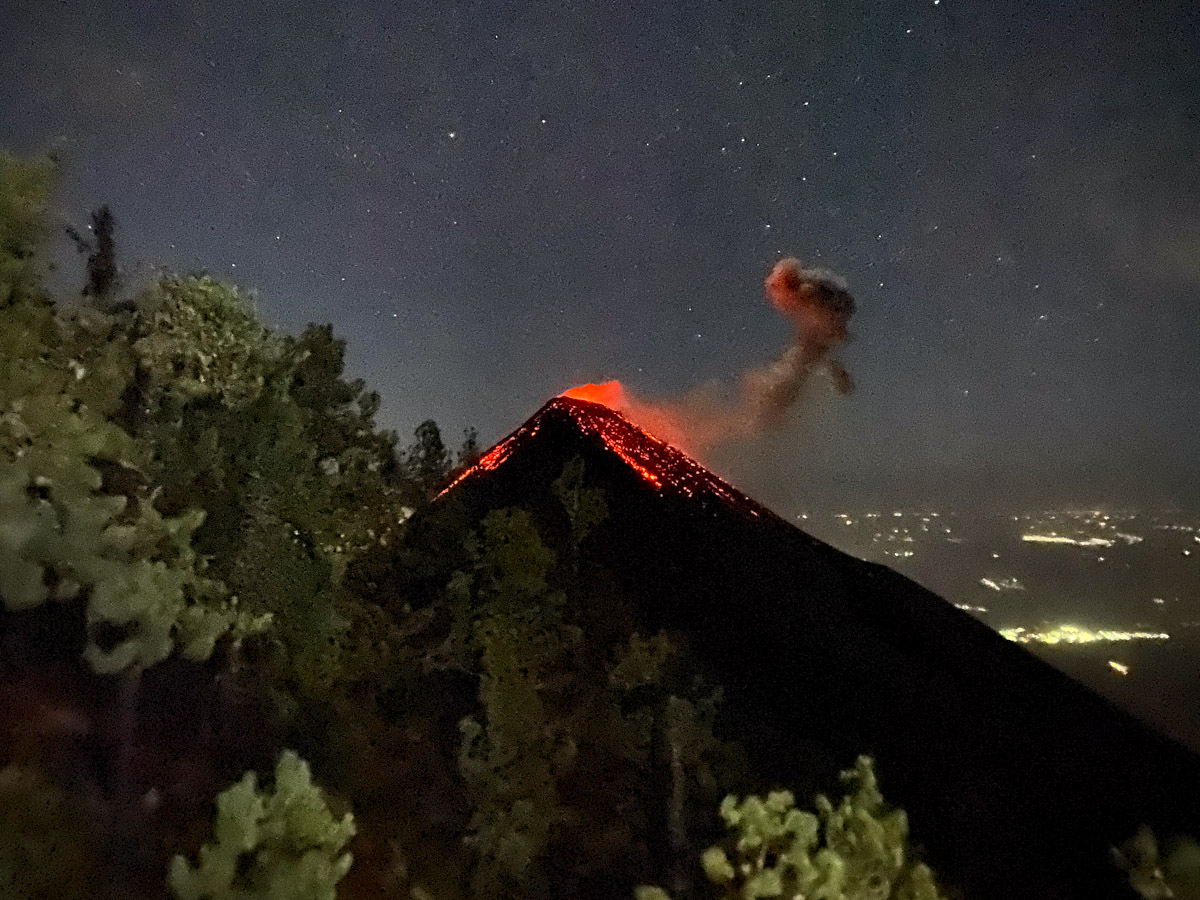
It’s still dark at this time, so wearing your headlamp and armed with a walking stick you will begin the most intense part of the entire hike. You’ll have breakfast after returning to base camp, so bring some snacks. After about 1 to 1.5 hours of climbing under the amazing starry sky you will reach the summit.
Once there, the icy wind is so strong that it’s hard to stay upright. Little by little, the slowly rising sun illuminates the landscape and the fire-breathing Fuego. From this high altitude you can see both the coastline to the south and Lake Atitlan to the west.
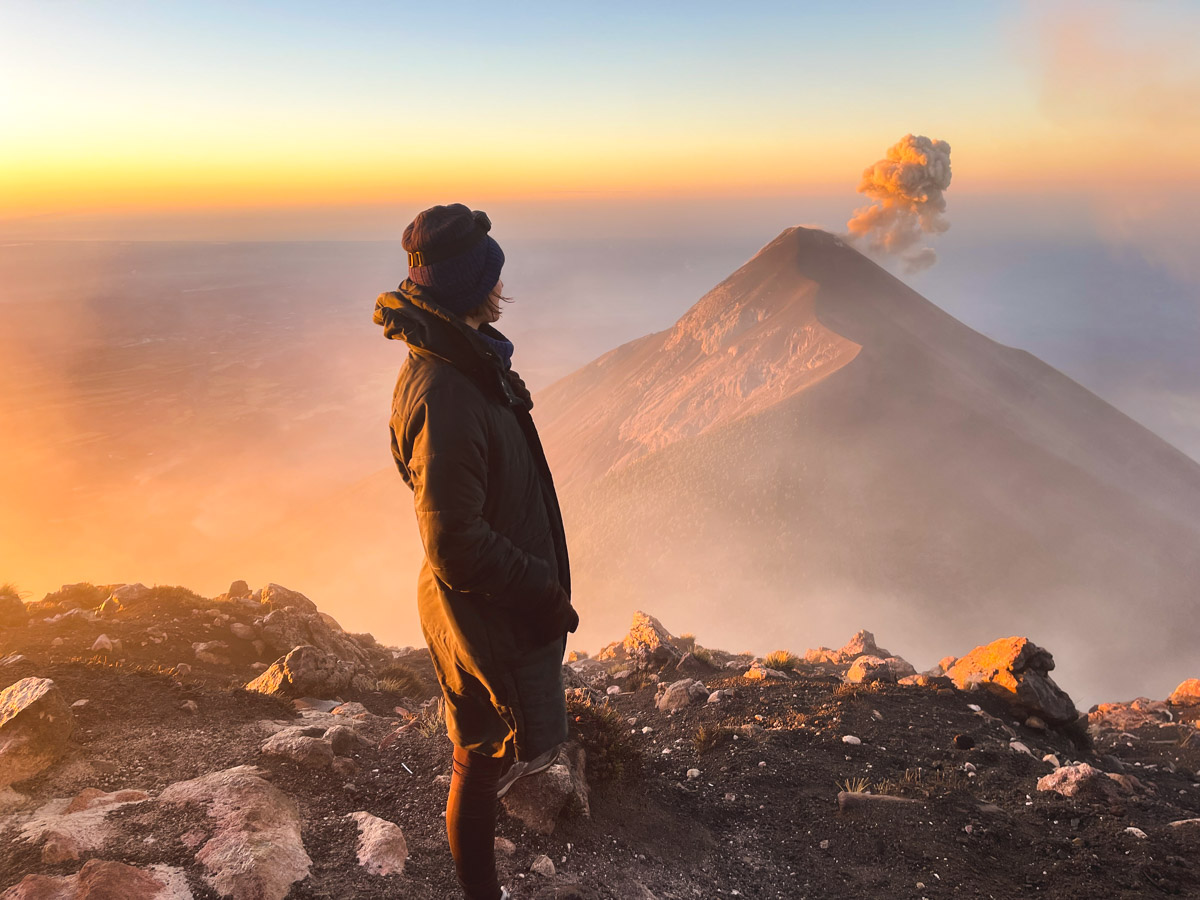
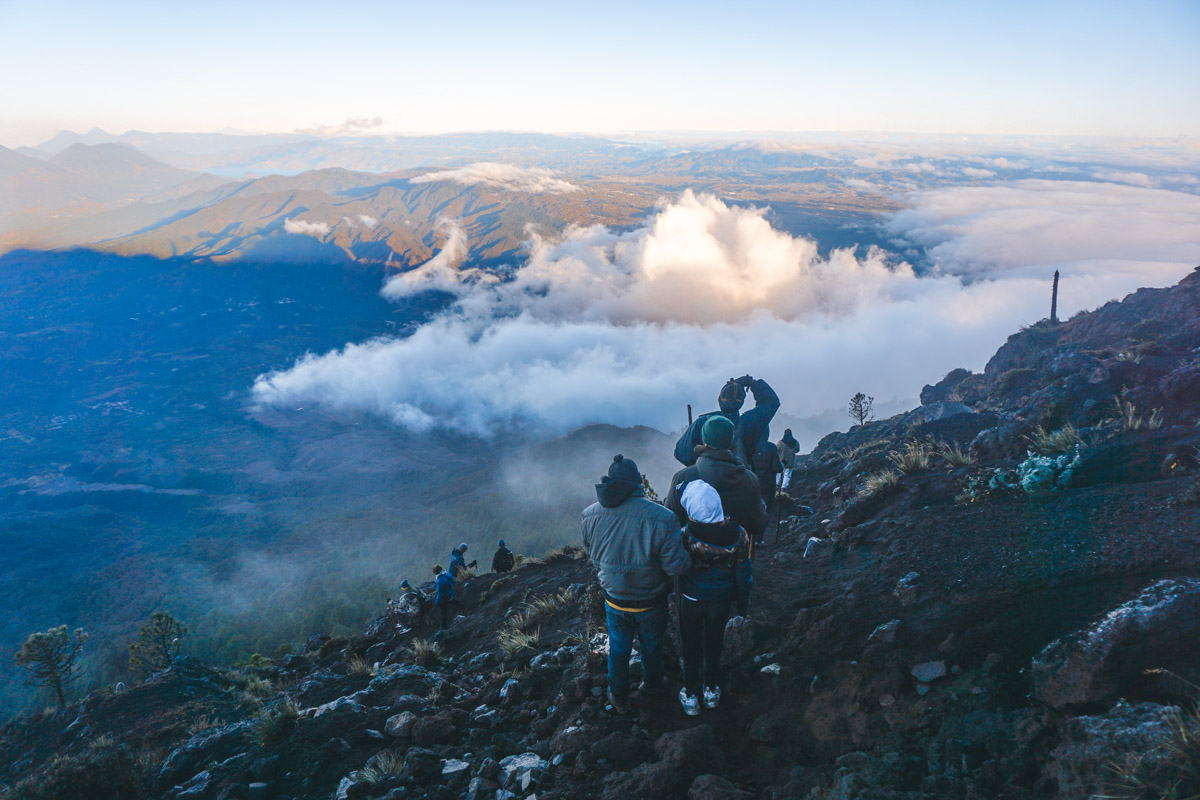
After spending half an hour to an hour on the summit, you hike back to base camp for a hearty breakfast, gather your gear and set off down the same route again.
The last few miles on the way back were the toughest for my knees. Despite the fatigue and wonky knees, I walked down with a very satisfied feeling. It took at least a few days before I could stand on my legs quite normally again, but it was all worth it.
How difficult is the Acatenango hike?
To be fair, this hike isn’t meant for everyone. The hike is absolutely challenging, not only because of the steep trail, but especially because of the altitude and associated cold. You will cover about 11 kilometers in a day and make a lot of altimeters. Chances are you will find that hiking is a lot more tiring than normal, especially if you are not used to high altitude.
During my backpacking adventures in Asia, I did a lot of hikes, but I still think the Acatenango Volcano hike was one of the most intense, largely because of this elevation.
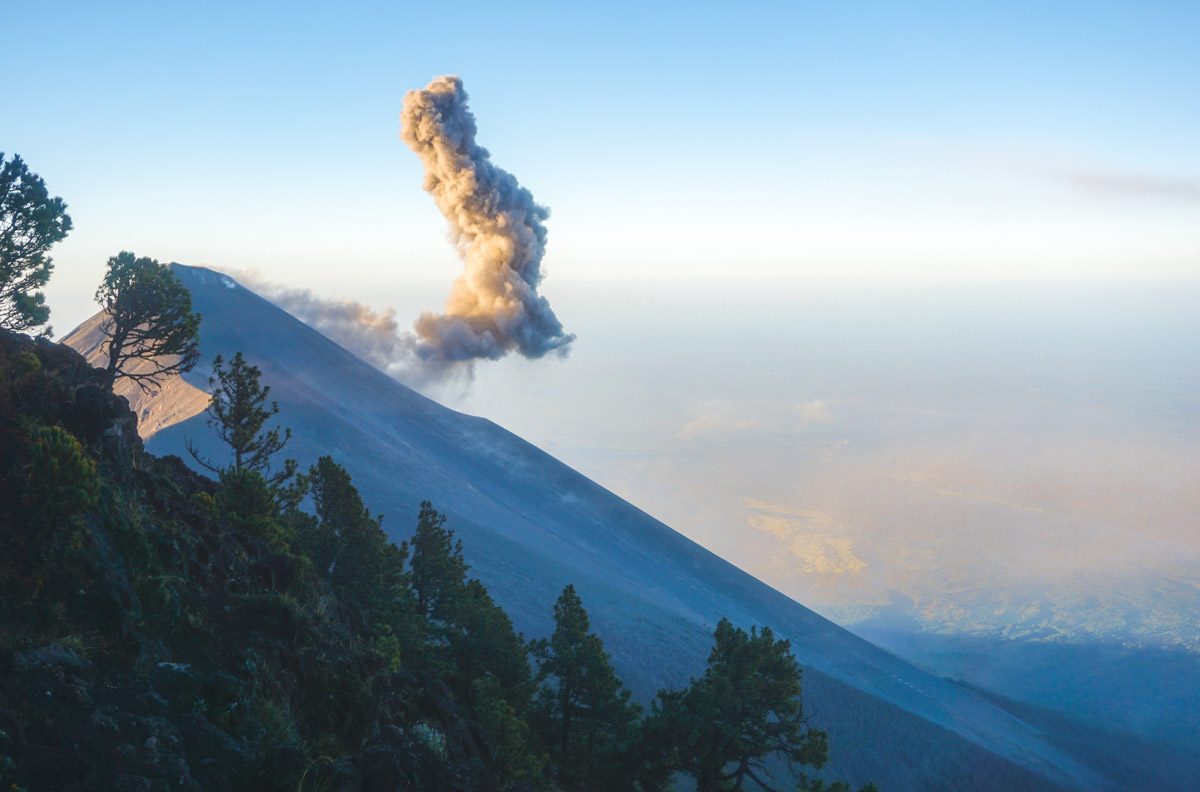
Can you get altitude sickness?
Considering that you climb to an altitude of nearly 4,000 meters, you may certainly suffer from altitude sickness during the Acatenango volcano hike. This is because you start from more than 2,000 meters altitude and eventually finish at about 3,700 meters in the base camp. Eventually you climb to almost 3,976 meters altitude.
Altitude sickness occurs in 1 out of 4 people at an altitude above 3,000 meters. You may experience headaches, dizziness, nausea and fatigue. It’s important to drink plenty of water, about 2 to 3 liters a day to prevent dehydration. It’s recommended to take about 4 liters of water per person during this two-day hike.
There are always enough breaks to get used to the altitude. Therefore, be sure to really take your time and try not to go too fast. There were some people in our group, including myself, who suffered from altitude sickness. The only thing that helps against this is to drink a lot of water, take rest and take paracetamol or ibuprofen for the headache. Our guides also brought something for the nausea. The next morning, after several hours of sleep, most felt much better.
Where to book a tour?
There are many different tour companies that offer tours to climb Acatenango Volcano. Oldtown outfitters is one of the most popular, but at the same time one of the most expensive at $150 / ±1,100Q. There are also plenty of inexpensive options from around 200Q, but the question is whether you want to skimp on safety and comfort at nearly 4,000 meters elevation.
I booked the tour with Soy Tours for 450Q and had a very good experience with this tour organization. The guides basically speak no English, unfortunately, but the hike and overnight stay are well arranged ánd safety is paramount. With a group size of about 30 people, there are 6 guides who keep track of everyone’s pace. However, the group doesn’t feel that big at all, as everyone walks at their own pace, spreading the group out nicely. In addition, there are many more tour organizations that all walk the same starting route, so avoiding others is simply not possible.
With Soy tours you sleep in tents that are covered by a cabin. So you won’t be affected by strong winds or rain. The base camp is at 3,756 meters altitude on the sunset side and you can see the lava flowing down the Fuego from this side. You can find all the detailed tour information in this PDF from Soy Tours.
I heard from other travelers that there are also tour organizations that offer covered dorms if you’re not so into sleeping in a tent. Which organizations those are exactly, I don’t know. In case you feel like that, I can recommend inquiring at your hostel in Antigua.
What to bring?
Try not to bring too much because you have to carry everything up and down yourself. Usually you can leave the rest of your luggage that you don’t take with you in your hostel for free. I can recommend you bring a backpack of about 30-40 liters with at least this stuff:
- 4 liters of water
- Toiletpaper
- Headlamp
- Warm clothes (hat, gloves, winterjacket, thermal underwear)
- Rainproof clothes or a poncho
- Snacks
- Energydrinks
There are some “toilets” aka hole in the ground on the route, but often it’s a matter of going in the bushes. So this is really back to basics and there is not much comfort during this hike.
Be sure to book another night in Antigua after your tour, as you will most likely be wrecked and not waiting for a bus ride to your next destination. After such a hike, it doesn’t hurt to give your body some rest and reward yourself with a nice hot shower.
Best time to hike the Acatenango volcano
Basically, Acatenango volcano can be climbed all year round, but the best time is during the dry season from November to April. There is always a possibility of being caught in the middle of clouds anyway, but the best chance of clear weather is during this period.
In the rainy season in May through October, there is more chance of dense clouds and downpours. Therefore, it is extra important to bring rain gear and a set of dry clothes during this period.


